 EN
EN



How to Plan Moving Head Lighting for Concert Stages
A good concert lighting plan begins before fixture count, color choices, or a cue list. It starts with the performance: where the audience sits, where performers move, what moments need emphasis, and which visual changes must happen reliably. Moving heads can give a stage scale, motion, and depth, but only when every unit has a defined job in the larger system.
For concert promoters, production teams, and rental operators, the practical question is not “Which light should we choose first?” It is: what does each light need to reveal or transform at this moment in the show? The following approach turns that question into a usable concert lighting workflow.
Start With the Stage Story, Not the Fixture List
In concert lighting, the visual story normally changes between entrance, verses, choruses, instrumental sections, audience interaction, and the finale. Write those moments down before allocating fixtures. This keeps the design focused on visible outcomes rather than on a collection of effects.
At the first site review, record the stage width and height, trim height, audience sightlines, video-screen locations, performer paths, camera positions, power distribution, and available control infrastructure. Also mark positions that may create glare for musicians or direct discomfort for the audience. A balanced rendering can still fail when a beam crosses a singer or scenery blocks a key angle.
Moving heads are most useful as part of a layered system. The front layer supports faces and key action; the side layer adds shape and movement; the back layer creates depth, silhouettes, and audience-facing energy. Wash fixtures establish color fields, while beam and spot functions add definition. If haze is approved for the venue and production, it can reveal aerial beams, but its use must follow venue requirements and the applicable equipment instructions.
Build Four Lighting Zones for a Clear Concert Lighting Layout
1. Front and key-light zone
Use this zone to keep performers readable. Its purpose is not constant brightness; it is controlled visibility. A restrained front treatment lets more dramatic side and back looks work without losing the performer completely. Confirm aiming angles during focus so light does not spill unnecessarily into video surfaces or the first rows.
2. Side-light zone
Side positions shape bodies, instruments, and dance movement. In a concert lighting plan, side moving heads are useful when a chorus or instrumental passage needs a shift in energy without changing the entire stage picture. Keep their jobs distinct: one set may provide slow fan movement, while another supplies a tighter accent. Otherwise, several fixtures can produce motion without a readable pattern.
3. Back and upstage zone
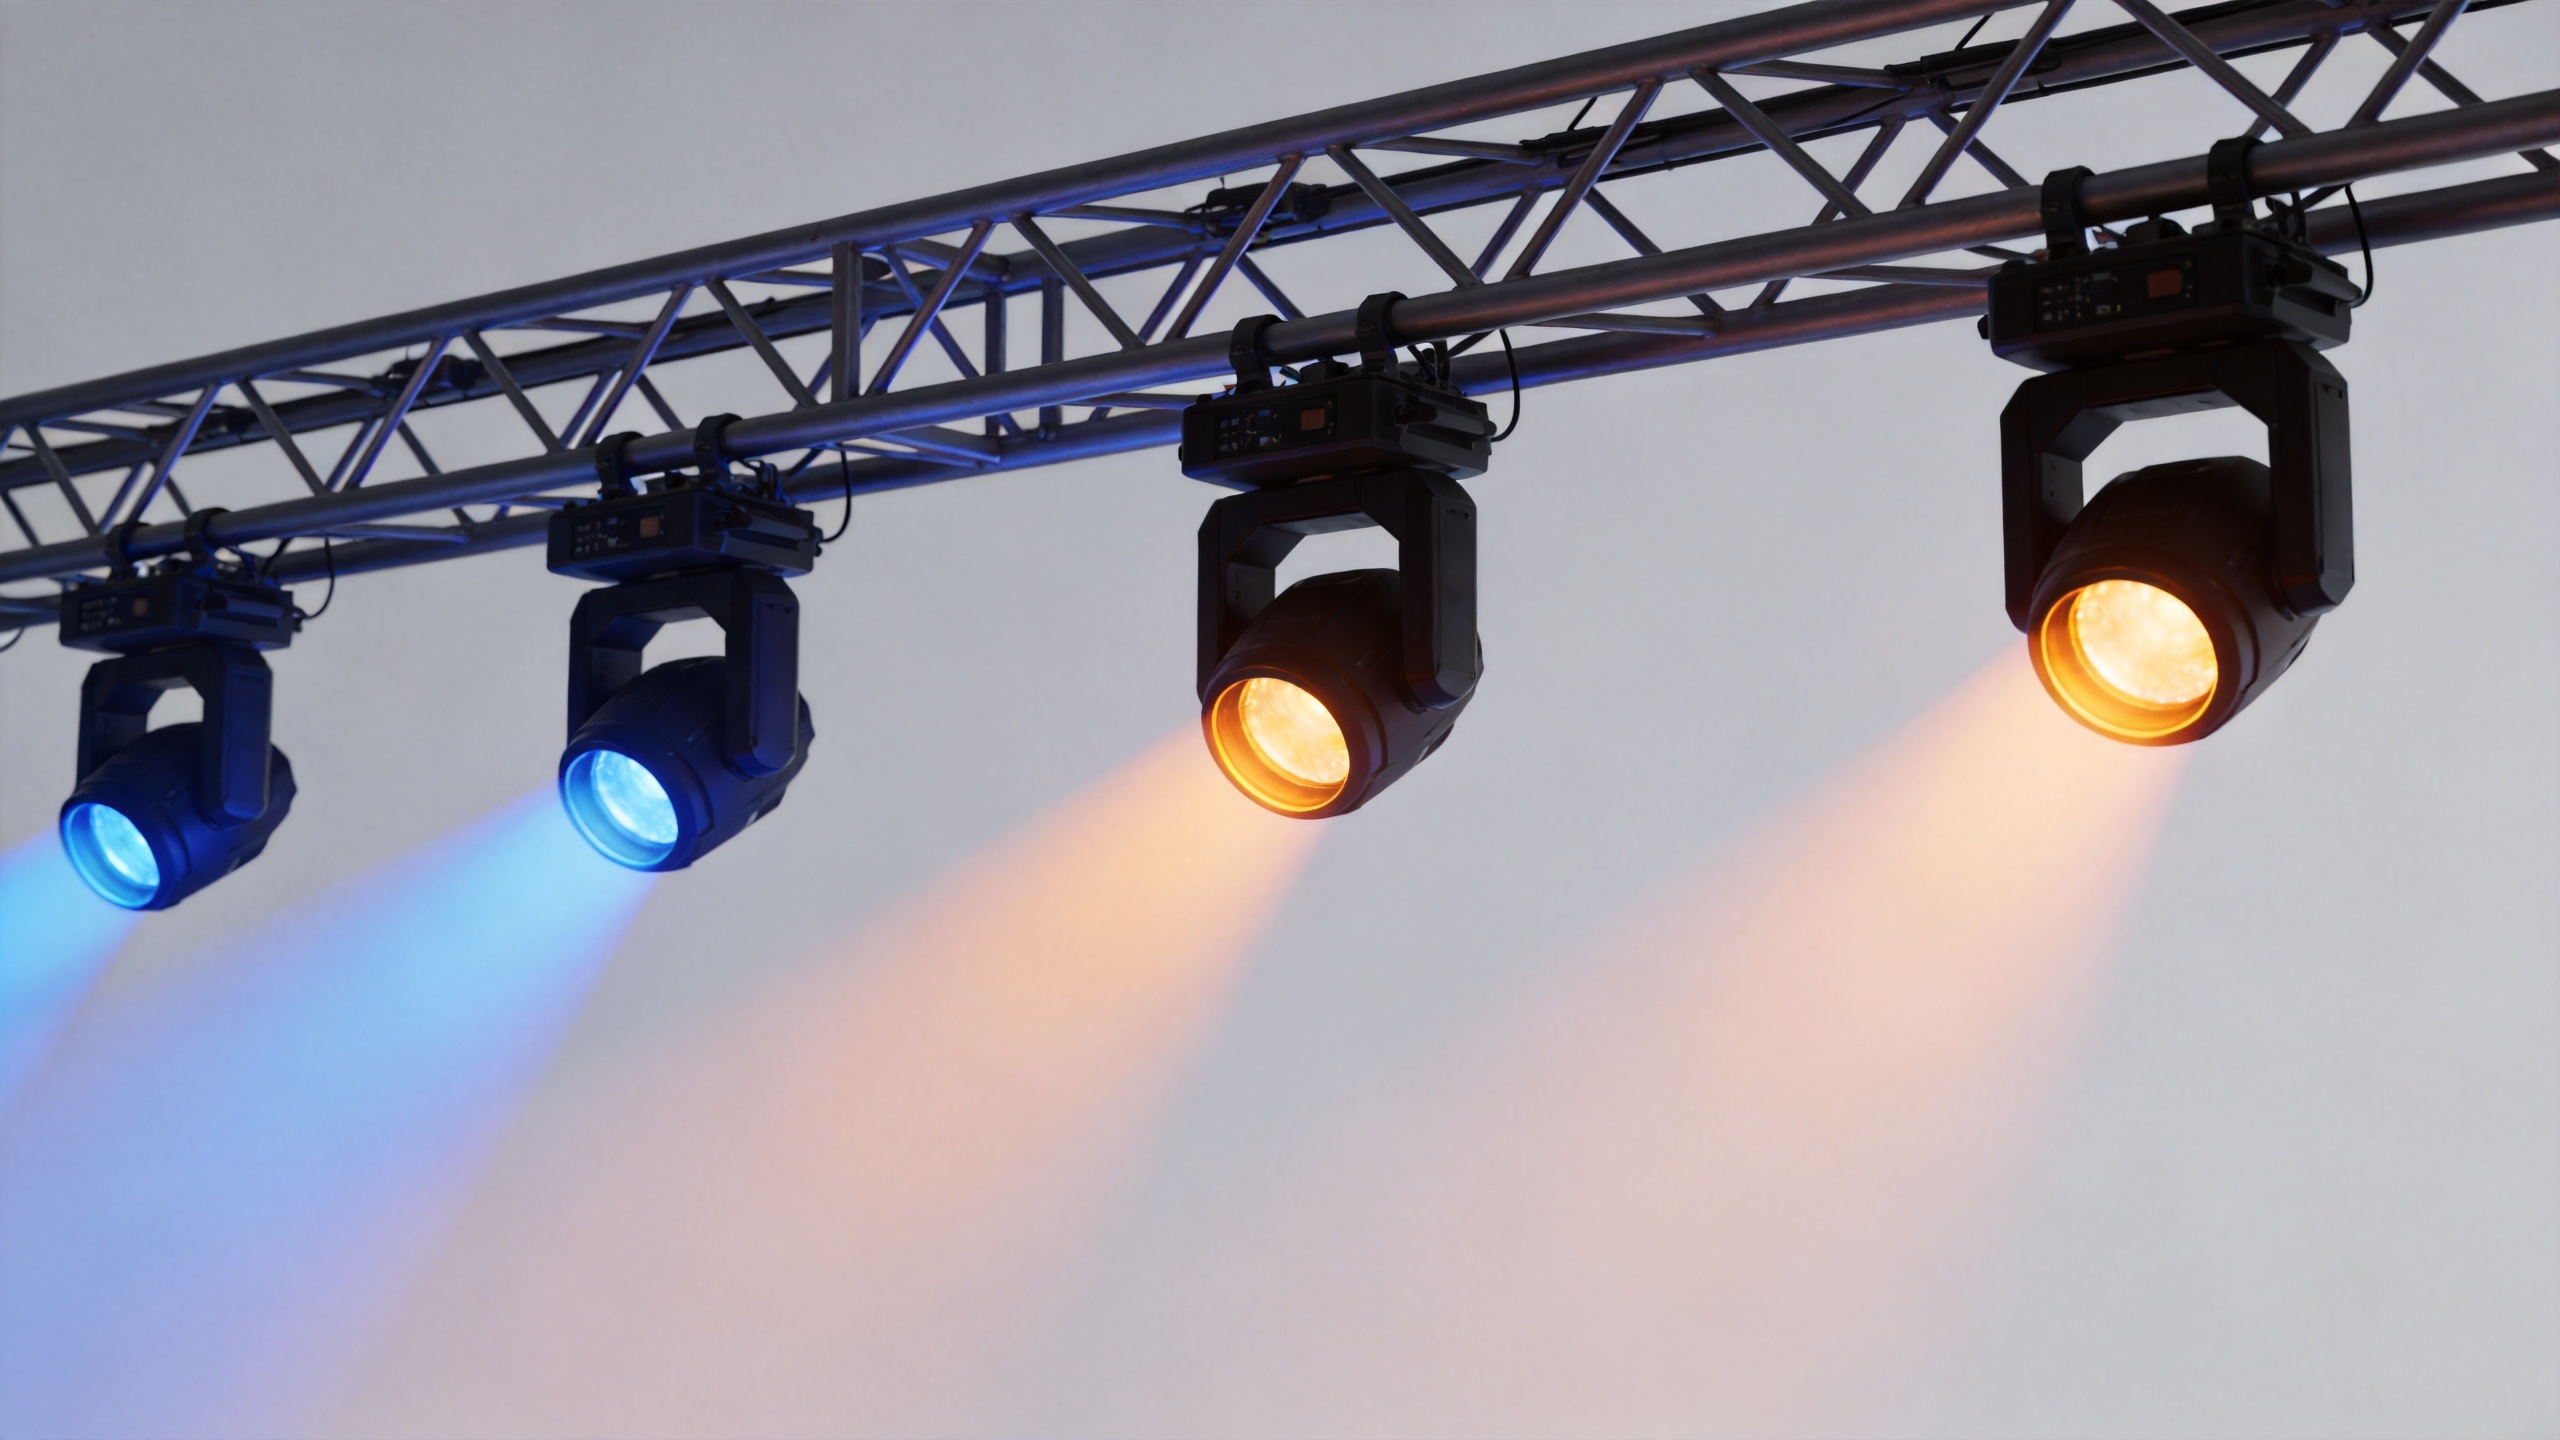
Backlight gives the stage depth and is often where moving-head beams are most visible. Assign some fixtures to long, clean aerial looks and others to texture or breakup duties. This separation matters: when every unit runs the same chase, the result can look busy rather than large. A few stable back looks also give the operator a reliable base for transitions.
4. Audience and architectural zone
Audience-facing effects can connect the room to the stage, but they need deliberate limits. Program them around known musical moments and venue rules, rather than leaving them active by default. Check sightlines, camera exposure, and safety requirements before directing fixtures into the room. Architectural positions can extend the stage picture onto truss, scenic pieces, or room features without competing with performers.
Create Effects in Layers: Color, Position, Movement, and Texture
The most convincing stage lighting lights do not rely on movement alone. Plan each look as a stack of decisions: a color base, a directional structure, a movement level, and optional texture. For example, a verse may use a calm wash with a narrow backline; a chorus may widen the color field and add coordinated beam fans; an instrumental break may introduce gobo texture and controlled movement.
Limit each look to one visual priority. If the priority is the vocalist, simplify the surrounding motion. If the priority is a large musical drop, allow the backline and audience zone to expand together. This also applies to party DJ lights in support areas: high energy should not distract from the concert stage picture.
For a moving-head fixture option, review the official current specification, control mode, optical behavior, weight, mounting method, and maintenance requirements before it is assigned to a role. The AICPOSE 500W CMY CTO BSW 3in1 Moving light can be included in a project evaluation as a confirmed product-page option; the final role and configuration should be verified against the current product documentation and the venue plan.
Make Control Planning Part of the Design
Concert lighting becomes repeatable when fixture purpose and control logic are planned together. Before addressing, decide each fixture’s DMX mode and document the patch. Group fixtures by position and role so an operator can build useful palettes: front looks, side fans, back-beam looks, texture looks, and audience looks. Name groups and presets clearly enough for another technician to understand them during a time-limited changeover.
A practical programming sequence is to build static looks first, confirm focus and color relationships, then add movement and timing. Static scenes reveal whether the design already has balance; movement should improve the cue, not conceal a weak base look. Program a conservative fallback look for pauses, unexpected changes, or console handover.
Coordinate the cue list with the music director, stage manager, video team, and operators. The operator needs a usable trigger, and the stage team needs to know when the environment will change. For rental projects, include the console file version, fixture mode, universe allocation, addressing plan, and a short focus note in the handover package.
Use a Simple Concert Lighting Cue Vocabulary
Clear language speeds up the concert lighting process. In concert lighting notes, label every concert lighting cue by zone, color, movement, and musical trigger. During concert lighting rehearsal, call concert lighting changes by cue name rather than by a vague effect description. A concert lighting plot should identify concert lighting focus positions, while the concert lighting patch should identify concert lighting control groups. This concert lighting vocabulary helps the concert lighting operator, concert lighting programmer, and concert lighting rental team work from the same concert lighting plan.
For supporting areas, use stage lighting lights only where they serve a defined task. Treat party DJ lights as a separate layer outside the main performance picture. This keeps decisions readable during fast changes.
Plan Rigging, Power, and Rehearsal as One Workflow
Do not treat safety checks as an afterthought to concert lighting. Rigging points, truss configuration, fixture weight, secondary safety attachments, cable routing, and power loading must be reviewed by qualified personnel and verified against the current venue and equipment requirements. A design drawing is not a substitute for published working-load limits or a competent-rigger assessment.
Schedule a full focus and rehearsal period whenever possible. During rehearsal, watch the show from the audience area, not only from the control position. Observe where beams land, whether performers remain readable, whether the visual density matches the music, and whether any look competes with screens or cameras. Record changes in the cue sheet rather than relying on memory.
For touring or rental teams, a small pre-show checklist makes the plan easier to repeat:
- Confirm fixture positions, clamps, safety attachments, and aim marks.
- Verify the fixture mode, DMX address, universe, and console patch.
- Test key static looks before movement cues.
- Review emergency and fallback looks with the operating team.
- Check venue rules for haze, audience effects, access, and egress.
Turn the Plan Into a Better Rental or Production Brief
A strong brief helps suppliers and rental teams respond with relevant options. Include venue dimensions, rigging information, stage plot, event date, music style, desired visual references, control platform, power conditions, number of rehearsal hours, and the effect priorities for each show segment. More accurately, the brief should explain the experience you want to create and the operating limits you must respect.
Ask suppliers for current documentation that supports the proposed configuration, including relevant specifications, mounting information, control options, and maintenance guidance. If the project will travel, also discuss packing, spare planning, and how the patch will be documented at handover. These checks are more useful than assuming a fixture behaves the same way in every room.
Final Takeaway: Give Every Moving Head a Purpose
Effective concert lighting plans are not defined by the largest quantity of fixtures. They are defined by purpose: what each position reveals, which layer creates depth, how each cue supports the performance, and how the system can be operated safely and consistently. Start with the stage story, divide the room into functional zones, layer effects with restraint, and document the control and handover process.
Before the first fixture is hung, confirm the venue conditions and current product information. Then use rehearsal to refine the plan. That approach gives moving heads room to create impact while keeping the concert lighting system clear, controllable, and ready for the real show.