 EN
EN



Moving Head Lights for DJs: A Practical Setup Guide
Moving head lights DJ setups can make a compact booth feel intentional, provided that each fixture has a clear job. The useful starting question is not “How many movers can fit in the room?” It is “What should the audience see when the music changes?” For DJs, that normally means combining a readable wash around the performer with a few controlled beam or effect moments over the dance floor.
This guide treats moving head lights DJ planning as a practical workflow: define the room, assign fixture roles, build the DMX plan, test safe positions, and program a small set of dependable looks. It is written for mobile DJs, bars, club rooms, wedding teams, and event operators who need a repeatable foundation before adding more complex effects.
Start with the DJ space, not the fixture count
Before selecting positions, sketch the DJ booth, dance floor, speaker stacks, ceiling height, truss or stand locations, and likely audience sightlines. A small room does not automatically need small ideas; it needs tighter control. If a beam crosses guests’ faces at close range, the effect becomes distracting rather than immersive. Aim across the floor, above heads, toward a back wall, or through haze where permitted by the venue.
A practical moving head lights DJ layout gives every unit one main role:
- DJ framing: two fixtures behind or beside the booth create depth and outline the performance position.
- Dance-floor movement: fixtures placed high and wide can send slow sweeps or timed accents across open space.
- Room texture: wash-oriented looks add color to a wall, ceiling, or architectural surface without pointing directly at guests.
- Moment lighting: a focused beam, gobo, or color change can support drops, announcements, and transitions.
That role-based approach is usually more useful than comparing fixtures one by one. In fact, the important correction for many first systems is this: more output is not necessarily the next upgrade. First confirm the throw distance, trim height, ambient light, and camera angles.
Choose positions that remain usable all night
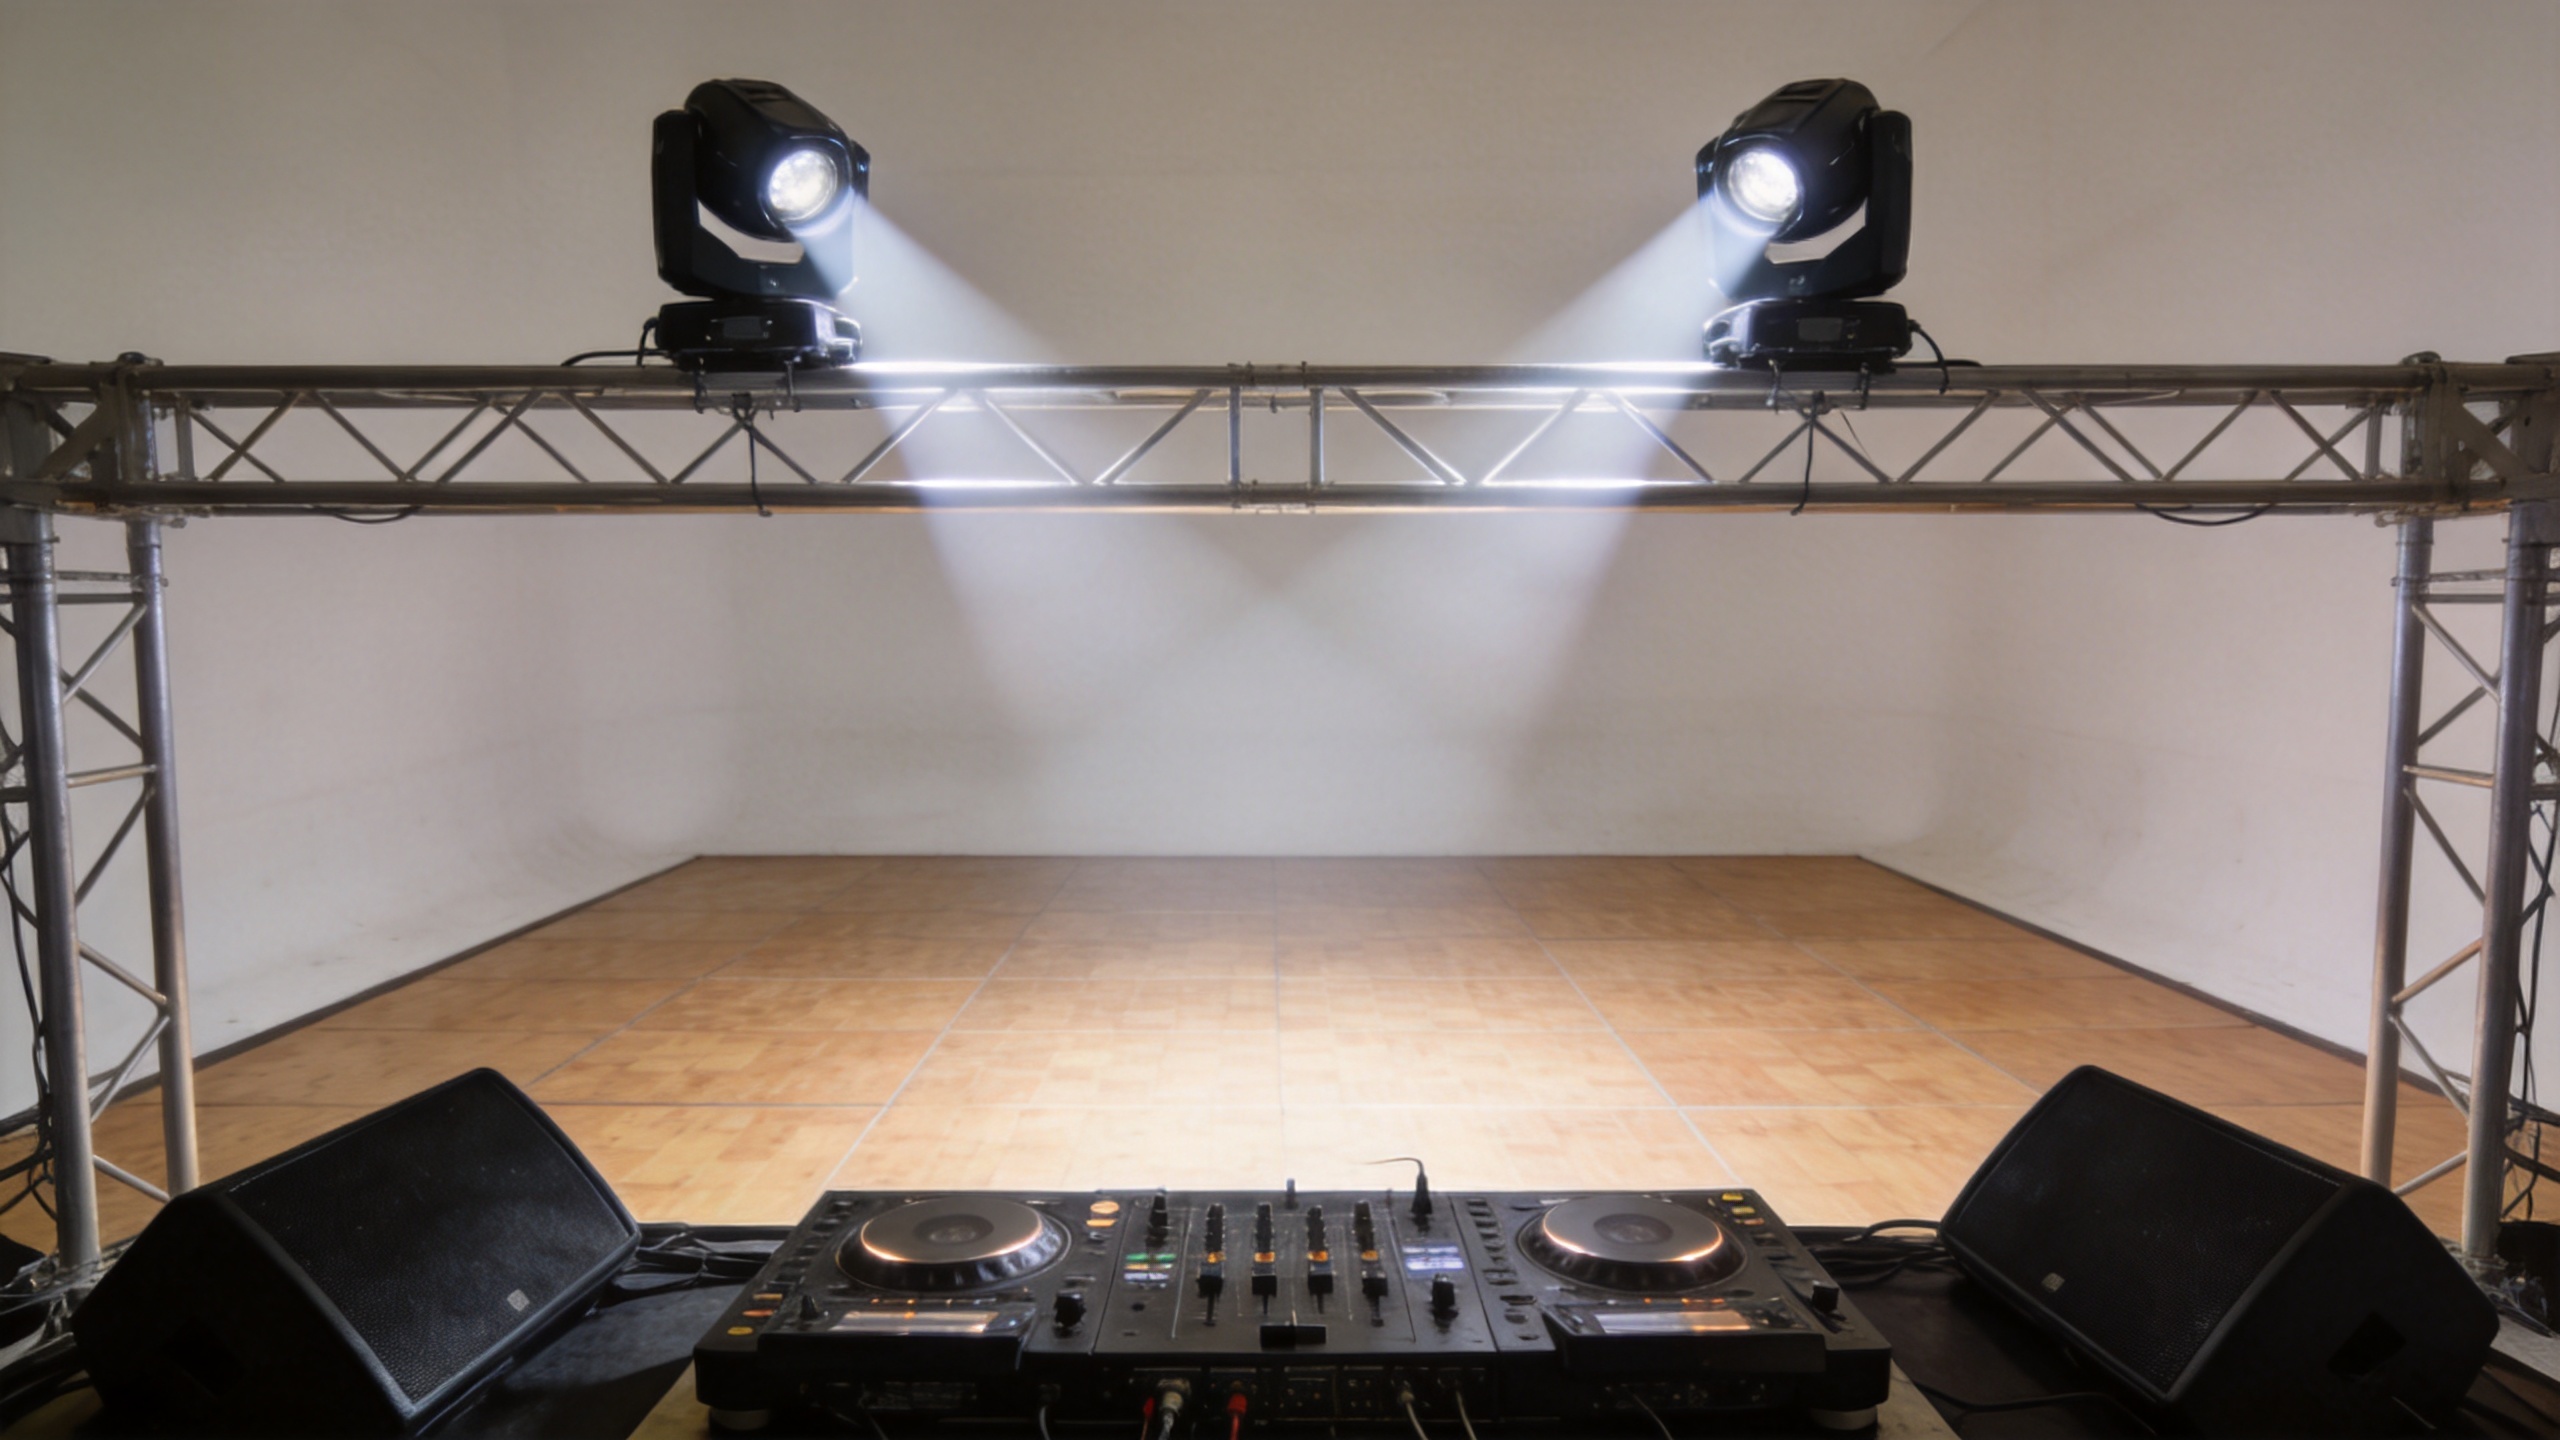
For a two-fixture arrangement, a common starting point is one fixture on each side of the booth or rear truss, aimed to cross over the dance floor rather than converge on the DJ’s eyes. For four fixtures, retain that pair and add a second pair for wider room coverage or a different visual layer. Keep pan and tilt ranges conservative during the first test so that no stored position can sweep into a low ceiling, projection surface, operator area, or audience face.
Secure each fixture according to the venue and equipment instructions, including the appropriate secondary retention and stable mounting hardware. Route signal and power lines so crew and guests cannot trip over them. Allow clearance for movement, ventilation, and service access. A clean setup makes a moving head lights DJ rig easier to focus, troubleshoot, and reset between events.
Build the DMX plan before connecting every cable
DMX is where a promising visual concept becomes repeatable. First choose the desired control mode on every fixture. A simple mode may be appropriate for a small controller and basic cues; an extended mode can offer finer movement, color, gobo, or effect control. Do this before assigning addresses because the selected mode determines how many channels the fixture uses.
One DMX512 universe contains 512 independent control channels, with channel values running from 0 to 255. That does not mean every show needs complex channel math, but it does make an address sheet worthwhile. List each fixture name, mode, channel count, DMX start address, physical location, and intended role. Leave enough room in the plan to avoid accidental overlap.
- Set the same intended DMX mode on each compatible fixture.
- Assign unique start addresses from the address sheet.
- Connect the signal chain in the planned order and use appropriate termination where required by the system.
- Power up, then test pan, tilt, dimmer, shutter, color, and any effect channels one fixture at a time.
For moving head lights DJ work, this short preparation prevents a common onsite problem: a scene that moves several fixtures differently because one unit was left in another channel mode.
Program static looks before movement effects
Start by programming four to six static looks: a warm welcome look, a cool dance-floor look, a clean DJ framing look, a low-output conversation look, and one high-energy color look. Static scenes are the reference point for the rest of the night. Once they are stable, add movement with a purpose.
Use slow sweeps for transitions, narrow movement zones for intimate rooms, and short accent movements for musical changes. Avoid running every fixture through a large, fast circle continuously. A deliberate pause can make the next cue feel stronger. When working with sound activation, test it with the actual music level and room acoustics instead of assuming it will respond predictably in an empty venue.
Use fixture types as roles, not labels
Beam, spot, wash, and hybrid fixtures produce different visual results, but the practical question is how each one supports the room. A wash can establish color and coverage. A beam can create graphic aerial definition when haze and venue conditions allow. A spot can add shape or texture. A hybrid can help when a flexible fixture role is more useful than a specialized one. For a larger production, a product such as the AICPOSE 500W CMY CTO BSW 3in1 Moving light can be reviewed in the context of the full lighting plan rather than as an isolated purchase.
Keep the selection discussion tied to the actual room and operating plan. A suitable moving head lights DJ configuration is one that the team can hang safely, address clearly, focus quickly, and run confidently through a complete event.
Run a pre-show checklist
- Confirm mounting, secondary retention, clear movement paths, and cable routing.
- Verify fixture mode, DMX address, signal response, and power status.
- Check focus points from the audience area, not only from the DJ booth.
- Test blackout, safe static looks, and a manual recovery look before doors open.
- Save the show file and keep the address sheet available for the operator.
With these checks in place, moving head lights DJ setups become less about chasing effects and more about creating reliable visual rhythm. Begin with a few well-aimed fixtures and a sensible DMX plan. Then add layers only after the core looks work in the real room.